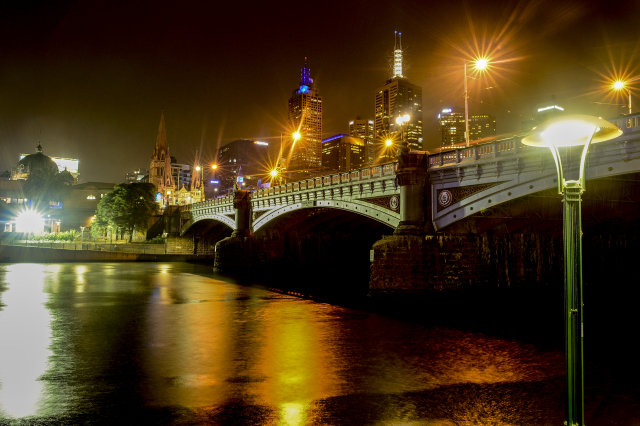
You’ve always wondered how to get that effect on your picture? If this can be done directly with your DSLR camera and not in post-production? You’ve tried but failed or were not happy about the result?
Back to the techniques
To better understand and master sunstar effects, let’s first go through the technical explanation – all the tips below will make much more sense and will be easier to remember if we know the whys.
Why does it happen ?
All starts with diffraction. Diffraction is the modification of waves’ direction when passing through a narrow opening or close to an object. In photography, this happens when the light passes through the diaphragm of the lens. When the aperture is at its smallest (so when the f. is high), the blades are fully retracted, which constricts the light and creates diffraction. So the smaller aperture you have (so the higher f. you put), the more constricted the light will be, and the greater diffraction effect you get.
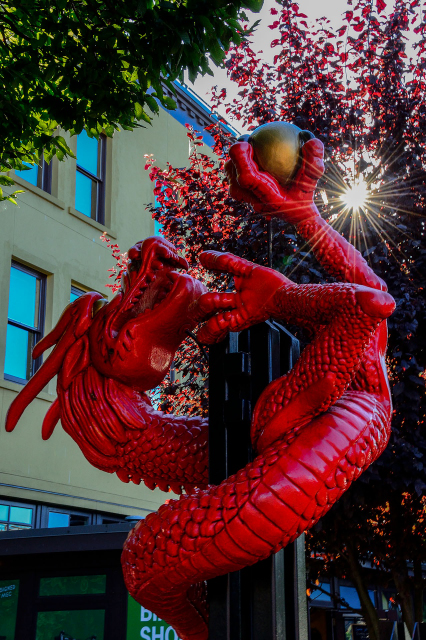
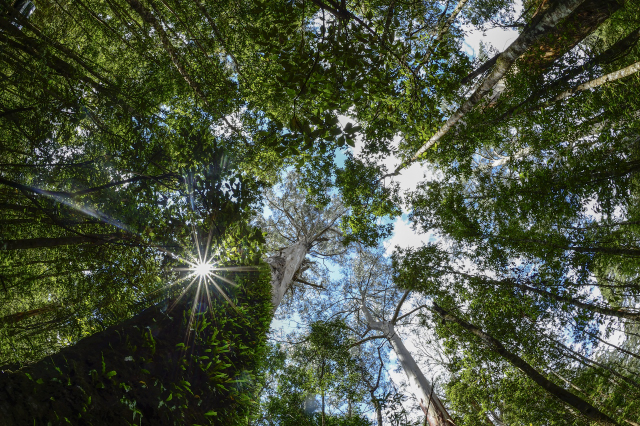
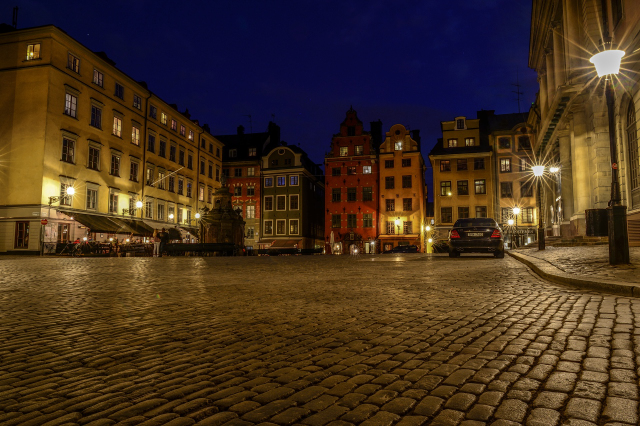
What determines the shape of the star?
● Size of the aperture opening : as seen above, the aperture has a direct impact on the sharpness of the star. With a wide opening (so a small f.), the opening won’t be obstructed enough to create diffraction. While a small opening will create a sharp star.
● The shape of the blades on the diaphragm: The aperture blades’ position and shape can vary a lot from one lens to another. In some lenses, the blades shape a circle without any hard corners. That will give a nice rounded bokeh effect but less a pointy star. While other lenses have their blades placed straight and they form a polygon. This will be perfect for a nice star effect.
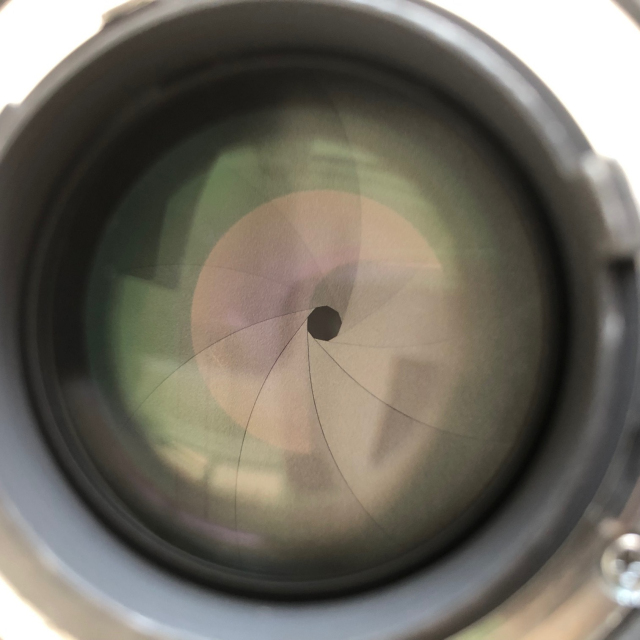
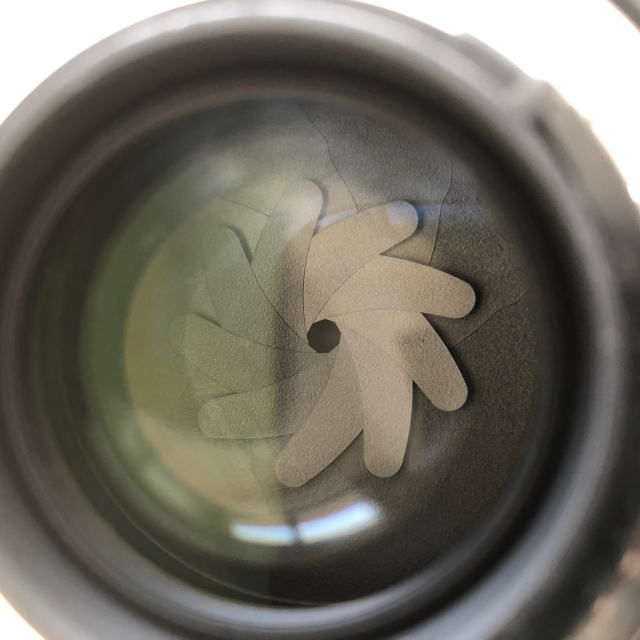
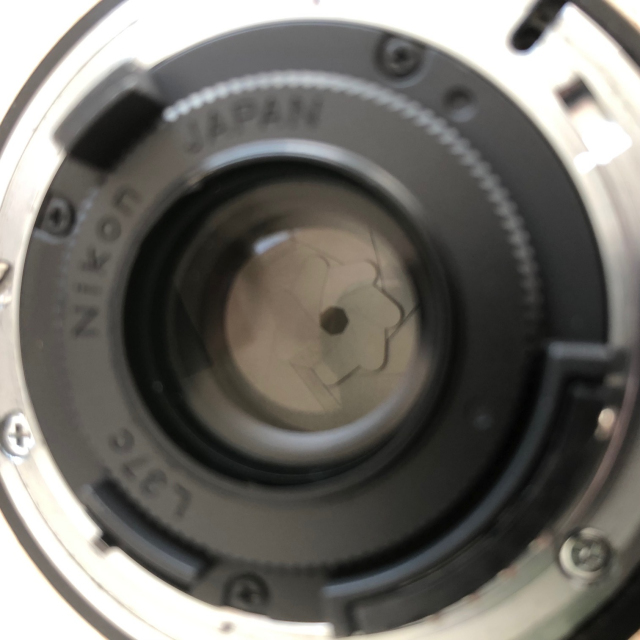
● The number of blades : the number of blades has a direct impact on the number of rays the star has. For lenses with an even number of blades, you will have the same number of rays than the number of blades : A 8-blade aperture will create a star with 8 rays. While in the case of a lens with an uneven number of blades, the number of rays will be the double : a 5-blade aperture will create a star with 10 rays. If you use Nikon, you can find here in column Bl quite an exhaustive list of Nikon lenses and their number of blades
Into practice
So with that in mind, what should you do to create a sunstar effect ?
Tip 1 : Pick the right lens
As we have seen above, the sharpness and the shape of the star are tightly tied to the lens. Try to pick a lens which can have a very small aperture – and ideally where the blades create a sharp polygon. And the more blades, the more rays.
Tip 2 : Use a small aperture
The smallest the aperture, the more visible the rays. So close the aperture to the minimum, from f16 to f22 depending on your lens.
Tip 3 : Set your camera in Manual Mode
You want to be able to define all the settings to get the exposure right. With such a small aperture and a bright sun, you can easily get an overexposed and almost white image. Favor underexposure to keep all the details. Depending on the conditions, and especially if it’s quite dark, you will need to play both with the speed and ISO. For instance, if you are in a forest and without a tripod, to avoid blurring from a small aperture, you may want to keep a relatively fast speed and so you will push up ISOs.
Tip 4 : Partially obscure the source of light
You will notice that depending on the position of the camera towards the source of light, the result may be quite different. You may not always get a star, even though your settings are correct. The star usually gets sharper and clearer when the light hits an object like a building or a tree. I think the easiest is with branches – I do a lot of those pics in forest. Once you found a nice place with rays of light going through, if you don’t get the star in the first shot, keep going, just move slightly until the star appears properly. Quite often, it’s only a matter of one or two centimeters more on the right or more on the left.
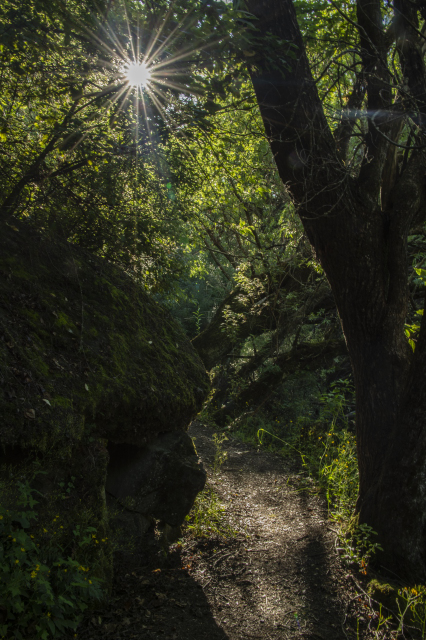
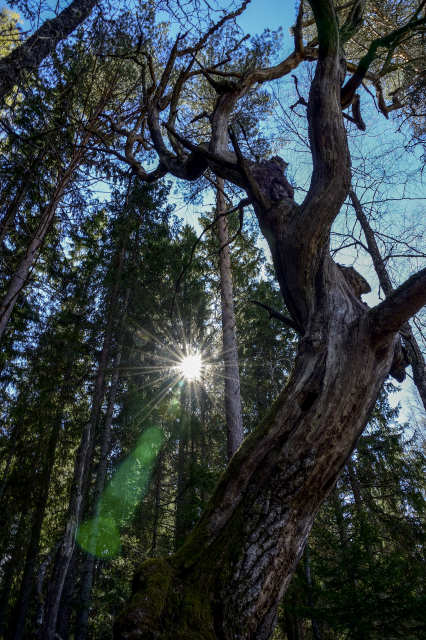
Tip 5 : Beware of the ghosting flare
While shooting for starbust, you may experience another type of flare you actually don’t want : circular or semi-circular green-ish halos, otherwise named « ghosting flare ». Wide-angle lenses usually minimise the ghosting effect while it will increase with longer lenses. You can try to put your hand over the lens and block off the light, or slightly change your position. However, depending on circumstances, it can be tricky to get rid of it, while keeping a perfect star effect ! Worse case scenario, try to minimize it as much as possible and clean the halos with a software. If you want to know more about flares, this article is quite straight-forward.
Tip 6 : Clean your lens!
By facing the light to directly, all the dust you may have on your lens will appear fairly clearly on the picture. This will be most specifically true if there is a light color in the background. If you don’t want to spend too much time on editing, make sure to clean up your lens!
Check my portfolios and travel galleries to see more sunstars !



0 Comments